02: Sprites and Images
Drawing Sprites and Images on hardware like the Sega Mega Drive is diffrent than the process of today where you can create a graphic in photoshop, import it to your game engine of choice and you know that what you have drawn will be the same as what is diplayed.
In creating graphics for the Mega Drive the artist has to be aware of not only the limited colours they can use, but how the final display on the CRT will affect the image.
------------------------
What is Indexed colour?
------------------------
Indexed Colour was a system of describing graphics where instead of each pixel holding the full colour information each (R,G,B) each pixel instead held a single number that coresponded to a colour in a table (the palette)
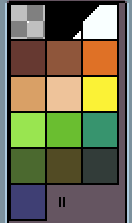
Example of a colour palette from Aesprite
The colours for these palettes where also often limited with the Mega Drive only being able the colours for its 4 Palettes(16 colours) each chosen from 512 colour (9 bit colour)
------------------------
Tiles vs Sprites
------------------------
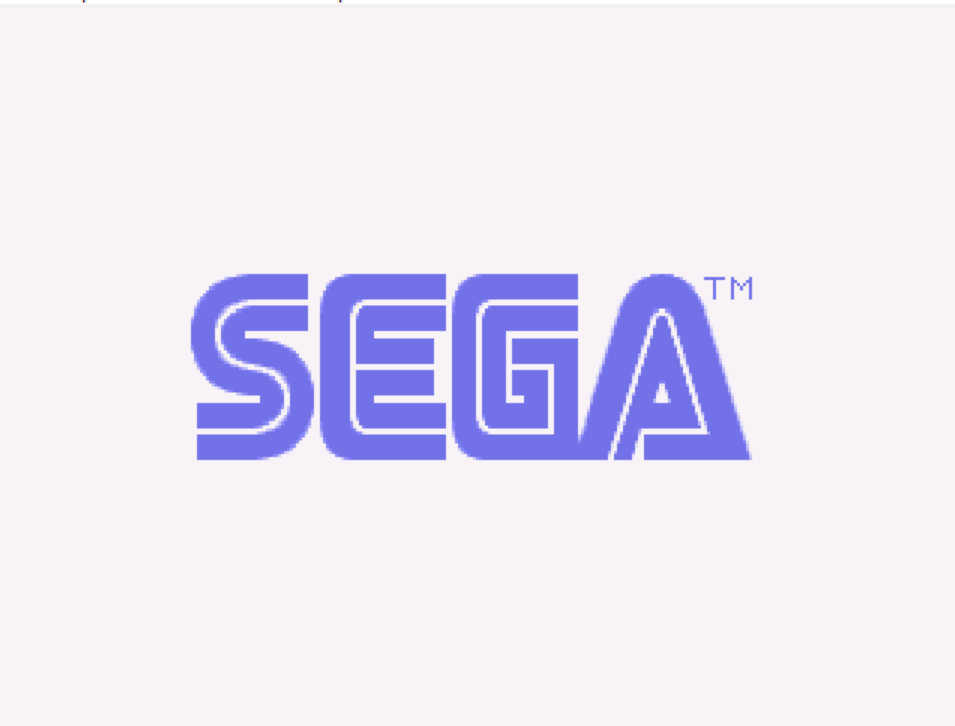
Sonic 2 : Sega Logo
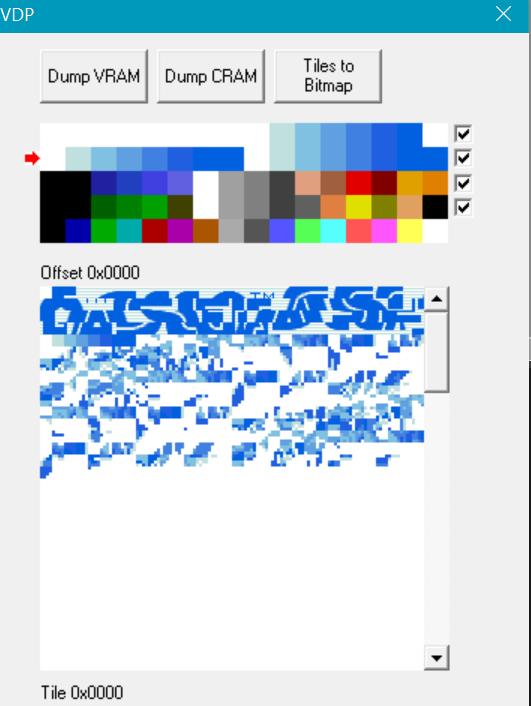
The Sega Logo Palettes and Tiles as stored
On the Mega Drive a tile is simply a 8 pixel by 8 pixel graphic that is the base block of images on the system
All Images and sprites on the system are made up of these 8 x 8 Chunks
Every tile can be given a layer and a priority to be drawn with Tiles with a high prioty being drawn ontop of tiles with no priority
The above Images shows the tiles as they would appear in memory for the logo screen in Sonic 2
The first three lines have the tiles for the sega logo while the rest of the tiles are from the animation of sonic running across the screen
The reason sonic is blue in this image is beacuase as all the tiles are indexed graphics in this view sonic is being drawn with the same palette used for the Sega Logo
This is indicated by the red arrow to the left of the colour
------------------------
Screen Size vs Plane size
------------------------
The Mega Drive has a number of diffrent modes for its graphics
The Screen width can eithe be 32 tiles wide or 40 pixels wide
for NTSC systems the Screen Height is 28 tiles high where PAL games can have a screen hieght of 30 tiles high
Hoever the Mega drive also had a in built Plane Size
This Plane sixe could be any comibination of 32, 64 or 128 tiles in width and height as long as the total tiles is less than 4096 tiles. ie (128 x32 is valid where as 128 *64 is not)
The Plane size can be used for scrolling larger levels that are larger than the screen, but without any extra steps the default behaviour for the mega drive is for these tiles to loop once the view move past the last column of the plane
------------------------
Managing Tiles on the VDP
------------------------
The VDP is the Mega Drives Visual Display Processor and it does most of the work in regards to drawing things
The VDP only has 64K of working ram for us to work with and everything included for drawing (palettes,Tiles sprites, level maps) needs to be in this space
The good news is that we can load and unload these items from the VDP. The bad news is that we need to manage this ourselves so we don't accidently overwrite something we need or try to load to much at once
In the SGDK this can be done by passing the current index into the load tiles function and adding the number of tiles from the current tileset this once it has been loaded
------------------------
Resources and Drawing to the Screen
------------------------
Following on from our previous video we draw some graphics to the screen